Installer project guideguide
Streamlined workflow for Protector Guardrail installation. No drilling, no anchors, no roof penetration — fast, clean, and fully compliant from delivery to handover.
Pre-project checklist: before you order anything
This checklist eliminates errors, delays, and unnecessary transport. Complete it before planning or placing any order.
- ✔Roof access confirmed
- ✔Roof type & membrane identified
- ✔Wind zone confirmed
- ✔Parapet height measured (if applicable)
- ✔Guardrail layout confirmed
- ✔Accurate upright-spacing measurements
- ✔Restricted zones & obstacles noted
- ✔PG-L versus PG-T configuration selected
- ✔Delivery access points confirmed
- ✔Ballast tile suitability (30×30 or 50×50)
- ✔Local tile delivery to site arranged
- ✔QR WorkStart code ready
Order smart. Eliminate double handling
Delivered direct to site
- →No storage at installer warehouse
- →Eliminates double handling
- →Reduces shipping weight
- →Zero packaging waste
Posts, rails, hardware
- →Lightweight, clean, simple to handle
- →Shipped direct to site
- →No cardboard, pallets or plastic waste
- →Saves 30–60 min prep time per project
Aluminium only
- →Extremely lightweight loads
- →Space for tools and PPE
- →Fewer transport runs
- →Faster site setup
From scan to handover
- →Activate order with QR scan
- →Step-by-step assembly instructions
- →Ballast plan & checklist
- →Digital handover protocol
Six-step fast method
No drilling. No anchors. No adhesives. No roof penetration.
On arrival verify the number of ballast tiles, aluminium components, and hardware sets. Scan QR WorkStart.
Select PG-L (linear) or PG-T (transverse) based on the layout. Start at corners or fixed structural reference points.
Recycled concrete tiles. Delivered locally. No packaging, plastic, or pallets. Zero waste on site.
Choose the 0°, 70°, or 90° version depending on the design. Use a string line or chalk line for perfect alignment.
Top rail, mid rail, end caps. All connections secured per specification.
Correct ballast applied. All rail connections secured. Post angles confirmed. System ready for handover.
Everything you need. Nothing you don't
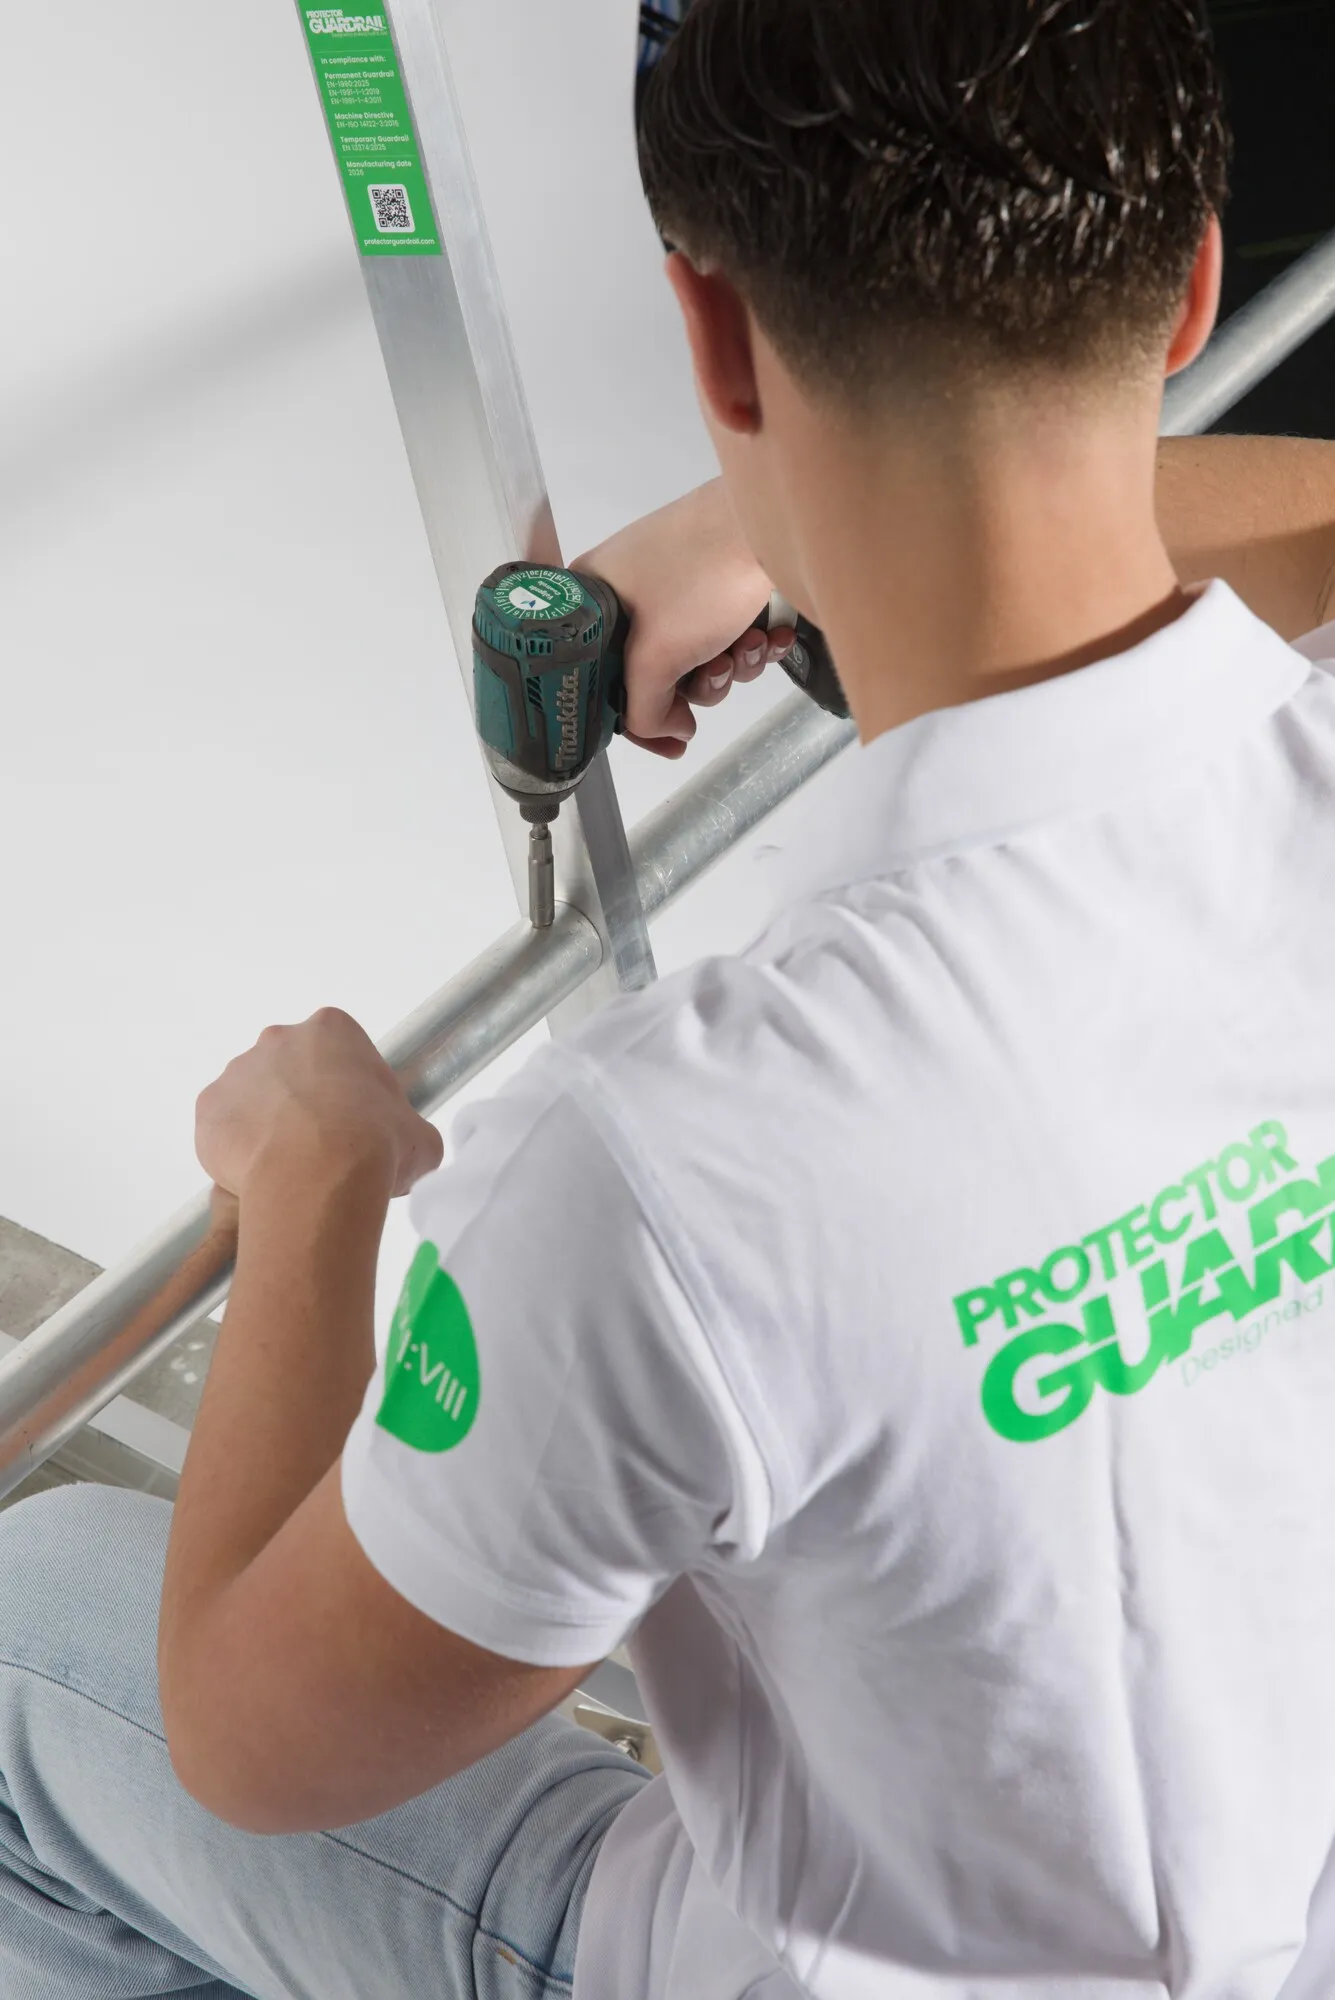
No drilling, no anchors, no adhesives, no roof penetration. The system is designed for fast, clean installation with a minimal standard tool set.
- ✓Zero wood waste
- ✓Zero plastic waste
- ✓Zero cardboard waste
- ✓100% reusable components
- ✓Recycled ballast options
- ✓No drilling → no debris
Shorter cleanup time. More jobs per day.
- ✗ Transporting ballast tiles from the warehouse
- ✗ Misaligned uprights/system
- ✗ Wrong platform configuration: PG-L versus PG-T
- ✗ Ignoring wind zone → incorrect ballast
Installer support
QR WorkStart code access, installation videos, technical hotline, live assistance on first installation, and the online calculator for platform selection.